Showing posts with label kitchen tips. Show all posts

Friday, May 15, 2015

Grinding Your Own Meat at Home

Do you know how expensive it is to buy ground chicken or pork? Not to mention how pricy hamburger is these days.

Well, I've got good news. If you have a food processor, you can grind your own meats at homes. Buy your meat on sale if you can to save even more money. I routinely buy pork loin at Sam's Club for $1.78 a pound. Then I grind part of it up to use as sausage or simply ground pork.

Ground chicken is very expensive. But if you buy chicken breasts on sale, you can grind your own. You have the added benefit of knowing exactly what is going in to your ground meat.

The same is true for beef. If you can get a roast on sale, use some of it for ground beef.

Here's what you do.

Use the metal blade on your food processor. Cut the meat into slices or chunks. You can leave some fat on it because that will help the meat stick together.
Pulse the processor several times until the meat reaches the desired consistency. Don't over do it, or you'll end up with meat paste instead of ground meat.
Now my ground pork is ready to be made into sausage. I just add the spices I want and mix it all together. In this case, I'm making Italian sausage.

Now my ground sausage is ready to be used in my recipe. More likely than not, I'm going to use this to make Italian Sausage Sandwiches. I've stopped buying sausage links and patties now and make my own. It's so much cheaper and healthier!


Tuesday, July 9, 2013

Kitchen Tip - Serving Sour Cream

Our family likes tacos and taco salad. Each person can pick his or her favorite toppings and create a unique masterpiece. To me, a taco or taco salad is not complete until it's been graced with sour cream.

Until recently my only method of adding sour cream was to fling it from a spoon in the taco's general direction and hope it stuck! I usually ended up with globs of  sour cream here and there, but there was no way to spread it around without making a huge mess.

Then inspiration struck! How about using a squeeze bottle? I use this easy method for BBQ sauce and homemade ketchup, so why not sour cream?
I have more control over where the sour cream ends up - sure beats the flinging method! And there's no mess. I can even store the remaining sour cream in the bottle until I need it again.

Isn't that taco salad pretty? And I'll get some sour cream in each bite! Yum!

Wednesday, November 21, 2012

Kitchen Tip - Cutting a Recipe in Half

Sometimes I like to cook in large quantities. Sometimes I don't. So for my own benefit, I compiled a list of measurements to use when I'm halving a recipe. Here it is:

Original        Half

1 cup              1/2 cup

3/4 cup           1/4 cup plus 2 TBSP

2/3 cup           1/3 cup

1/2 cup           1/4 cup

1/3 cup           2 TBSP plus 2 teas

1/4 cup           2 TBSP

3 TBSP          1 TBSP plus 1 1/2 teas

2 TBSP          1 TBSP

1 TBSP          1 1/2 teas


*Note - if your original recipe calls for one egg, just beat an egg, then scoop out 2 TBSP.

Also, if you're using a smaller pan with smaller quantities, you'll need to reduce your cooking time, too. Leave the temperature the same, but check for doneness often. Then make a note on your recipe about the correct cooking time for a halved recipe. It will come in handy later.

There, now isn't that handy? I mean, we can all figure out half of one cup or half of half a cup, but those thirds can be tricky!

This is part of my eclectic collection of measuring cups and spoons!

I'm linking this kitchen tip with Works for Me Wednesday at We are THAT Family.

Monday, November 5, 2012

Flatbread Shortcut

I have a fantastic recipe for flatbread that I've shared before. I'm not going to lie. It IS amazing! But it also takes some time because it requires two risings. I definitely have to plan ahead when I make it.

And even though I love, love, love my flatbread recipe, sometimes I need to shave time off my meal prep. This is a quick, easy substitute that works wonderfully when time is of the essence.

All I do is mix up a batch of pizza dough, divide it into 8-10 portions, roll it out thinly and throw on the griddle. It takes all of 10 minutes to prepare the dough, a few more minutes to roll it out and a couple of minutes to cook each one. So I've taken a 2-hour process and condensed it into 30 minutes. Not bad!


My family can't even tell the difference, even though the pizza dough version isn't as flat. And that's typically because I haven't rolled it out thinly enough. This time-saving version is just as fabulous for gyros and wraps as the original.

So, what shortcuts do you want to share? How do you save time in the kitchen? Share in the comments!


Wednesday, June 6, 2012

Kitchen Clean Up Tip

Have you ever watched Rachael Ray's cooking show on the Food Network? One of her favorite tools to use is a garbage bowl. As she's chopping veggies or opening packages, she dumps everything into a bowl instead of making several trips to the garbage can. Sounds practical, huh?

You can even purchase one of her garbage bowls in your choice of colors for $20. And then you have to clean it up every time you use it.

Well, what if you had a garbage bowl that you didn't have to wash every time you used it?

Just grab a bowl while you're prepping food and line it with a plastic bag, like from Target or Wal-Mart. Make sure the bag doesn't have any tears or holes, or you WILL be washing it when you're finished.


Fill it up with your food scraps and garbage. Then lift the bag out of the bowl and dump in the trash! No muss, no fuss.


And now you have a clean bowl again!


How's that for practical?

Thursday, February 9, 2012

Easy Breadsticks Kitchen Tip

I make ugly bread sticks. There I said it.

I want to make pretty, perfectly proportioned bread sticks, but apparently I don't have the gift for it. Or maybe I don't have the patience for it! Who wants to take the time to shape a dozen bread sticks, anyway?

So I've made it easier on myself. And maybe a little bit prettier. Or maybe a little less ugly would be more accurate. Instead of shaping each bread stick individually, I roll the dough out into a rectangle and use my pizza cutter to slice it.


The bread sticks may still not be absolutely perfect, but they look more like bread sticks and less like alien arms.

Since we're talking about bread sticks, how about an easy recipe? I adapted this one from SnoWhite at Finding Joy in My Kitchen. It's a recipe similar to Olive Garden's breadsticks, the ones they used to serve. Not the tasteless, frozen-then-reheated ones they serve now. These yummy bread sticks are soft on the inside with a slightly crunchy crust on the bottom.

Here's what you need:

3/4 cup warm water
1 1/8 teas yeast
1 TBSP sugar
1 TBSP olive oil
2 1/4 cup flour (I use half white, half white-wheat)
1 teas sea salt

In a mixing bowl, combine the water, yeast and sugar. Let sit about 5 minutes or until the mixture is puffy. Add the oil, then the flour and salt. Mix well. Allow to rest for about 40 minutes.

Then roll out the dough into a rectangle until it's about an 1/2 inch thick. Slice with a pizza cutter into 8-10 breadsticks.

Bake at 400 degrees for 7 minutes. While the bread sticks are baking, combine 2 TBSP melted butter with 1 teas garlic powder and 1/2 teas salt. After 7 minutes, remove from the oven and brush with the butter mixture. Return to the oven for another 7 minutes. Brush the remaining butter over the bread sticks. Serve warm.

Monday, October 3, 2011

Easy Way to Shred Chicken - Kitchen Tip

I don't know how you shred your chicken, but I've been a two-fork kind of gal. You pull and pull until it's shredded into whatever sized chunks you want.

Sometimes that could take awhile, especially if I had cooked up a bunch of chicken at one time to freeze for later. Today was chicken cooking day. I threw several chicken breasts in the crockpot and let them cook on low all day, intending to work my two-fork magic on them later.

Then I came across this tip on Simply Healthy Family. Use your stand mixer to shred the chicken instead of all that two-fork work! I guess I never really considered such a thing before because I don't use my mixer to shred things. It's a mixer, not a shredder, right? But honestly, this worked better than I could have hoped.

Here's what you do.

Throw the warm chicken in the bowl of your mixer. I took mine straight out of the crockpot and tossed it in. You definitely want to use warm or even hot chicken, because it's soft and tender. Do not try this with cold chicken.


Using the paddle attachment, turn the mixer on low speed for a few seconds, then move up to a medium speed, careful not to let the chicken fly out of the bowl. Because it will if you get that paddle going too fast. This is what my chicken looked like after 20 seconds or so.


I gave it another 10 seconds and got a pile of nicely shredded chicken.


There were a few larger pieces, so I just used a pair of tongs to break them up (no forks necessary).


I was amazed at how easy it was to shred 6 chicken breasts in under a minute! This task would have normally taken me 15-20 minutes, depending on how many times I got interrupted. I saved some of the chicken for use later in the week, then bagged up and froze the rest. Easy peasy!

For more helpful hints, visit Works for Me Wednesday over at We Are THAT Family.

Tuesday, May 10, 2011

Saving Time in the Kitchen - bake your pancakes!

My family loves to eat pancakes. We rarely have them for breakfast. Mostly just for lunch or dinner!

I don't love standing over the griddle waiting for them to cook. My griddle is big enough to hold 3 pancakes at a time, but it seems like it takes forever to cook them.

My solution to cut the cooking time in half - bake them!

Mix up your favorite pancake recipe. You don't have to add anything special to it, just mix it up as if you were using a griddle. Pour the batter into a greased 9x13 pan and spread it out evenly.

Bake at 400 degrees for 10-12 minutes until a knife inserted in the center comes out clean. Cut into squares and serve with butter and syrup or whatever pancake toppings you like.


The pancakes will be fluffier, almost cake-like - which my kids adore! It is so much easier and quicker, too. When serving a crowd, double your recipe and use two pans. In no time, you'll be sitting down to eat with your family instead of flipping pancakes all morning. That definitely works for me!

To find more helpful hints and tips, visit Works for Me Wednesday over at We are THAT Family.

Tuesday, January 25, 2011

Getting dough to rise in a cold kitchen

In the winter I have trouble getting dough to rise. Because every dough recipe out there states, "let rise in a warm place free of drafts." And finding a draft-free, warm location in my house can be difficult during the colder months.

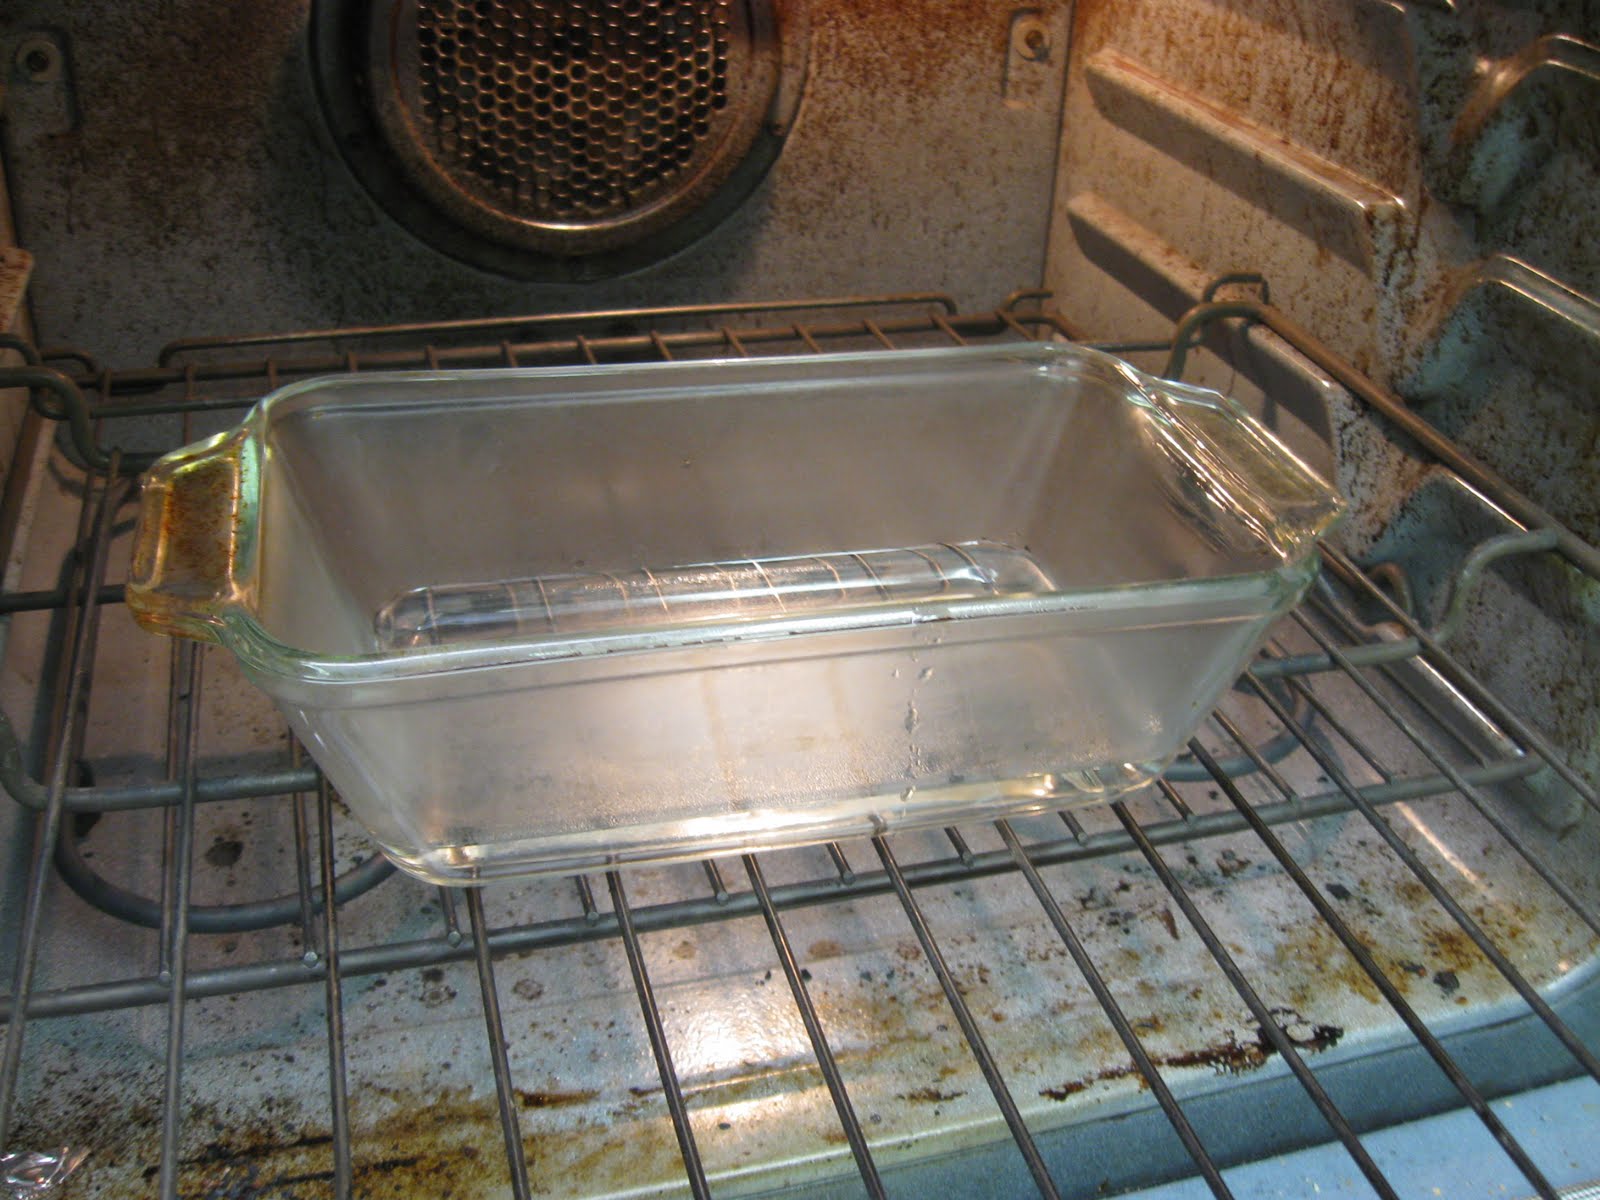
So I turn to my oven. It makes a wonderful warm cocoon in which my dough can rise.

First I heat the oven to 200 degrees. When it's reached that temp, I turn the oven off. While the oven's warming up, I boil some water and pour a couple of inches of it into a pan. I place that in the oven right before putting my dough in. The steam from the water helps keep the dough from developing a crusty skin as it rises in the warm oven.


Then the dough goes in. I leave it in the stainless steel bowl of the mixer and cover loosely with foil. I want to leave this in the oven until it doubles in size. Usually it will take about 20 minutes.
Here's the before picture:


After 20 minutes:


Don't forget to use pot holders if when handling your metal bowl! If your dough doesn't require a second rise, you're good to go. But if it does need to be shaped and allowed to rise again, don't worry about reheating the oven. There's still plenty of warmth left. At this point, I take the pan of water out.

Shape your dough into loaves or rolls or whatever. Here I'm making bread bowls for soup.


Return to the oven for another 15-20 minutes, or until doubled in size.


Now bake as directed in your recipe! Easy, easy, easy!

Note: I always move my oven rack down before heating the oven for the first rise. My mixer bowl wouldn't fit otherwise. After the second rise, I put the rack back in place to bake the bread/rolls/whatever.

For more helpful tips on topics like cooking, budgeting, parenting and having fun, visit We are THAT Family's Works for Me Wednesday.

Tuesday, December 21, 2010

Recycle Plastic Bottles into Bag Toppers and Spill Stoppers

My mom shared this great tip with me, and I want to share it with you. If your cupboards look anything like mine do, you have opened bags of rice or beans or marshmallows that you fold down in hopes that they don't spill. And then you clean up all the little grains of rice that have leaked out because they DO spill.

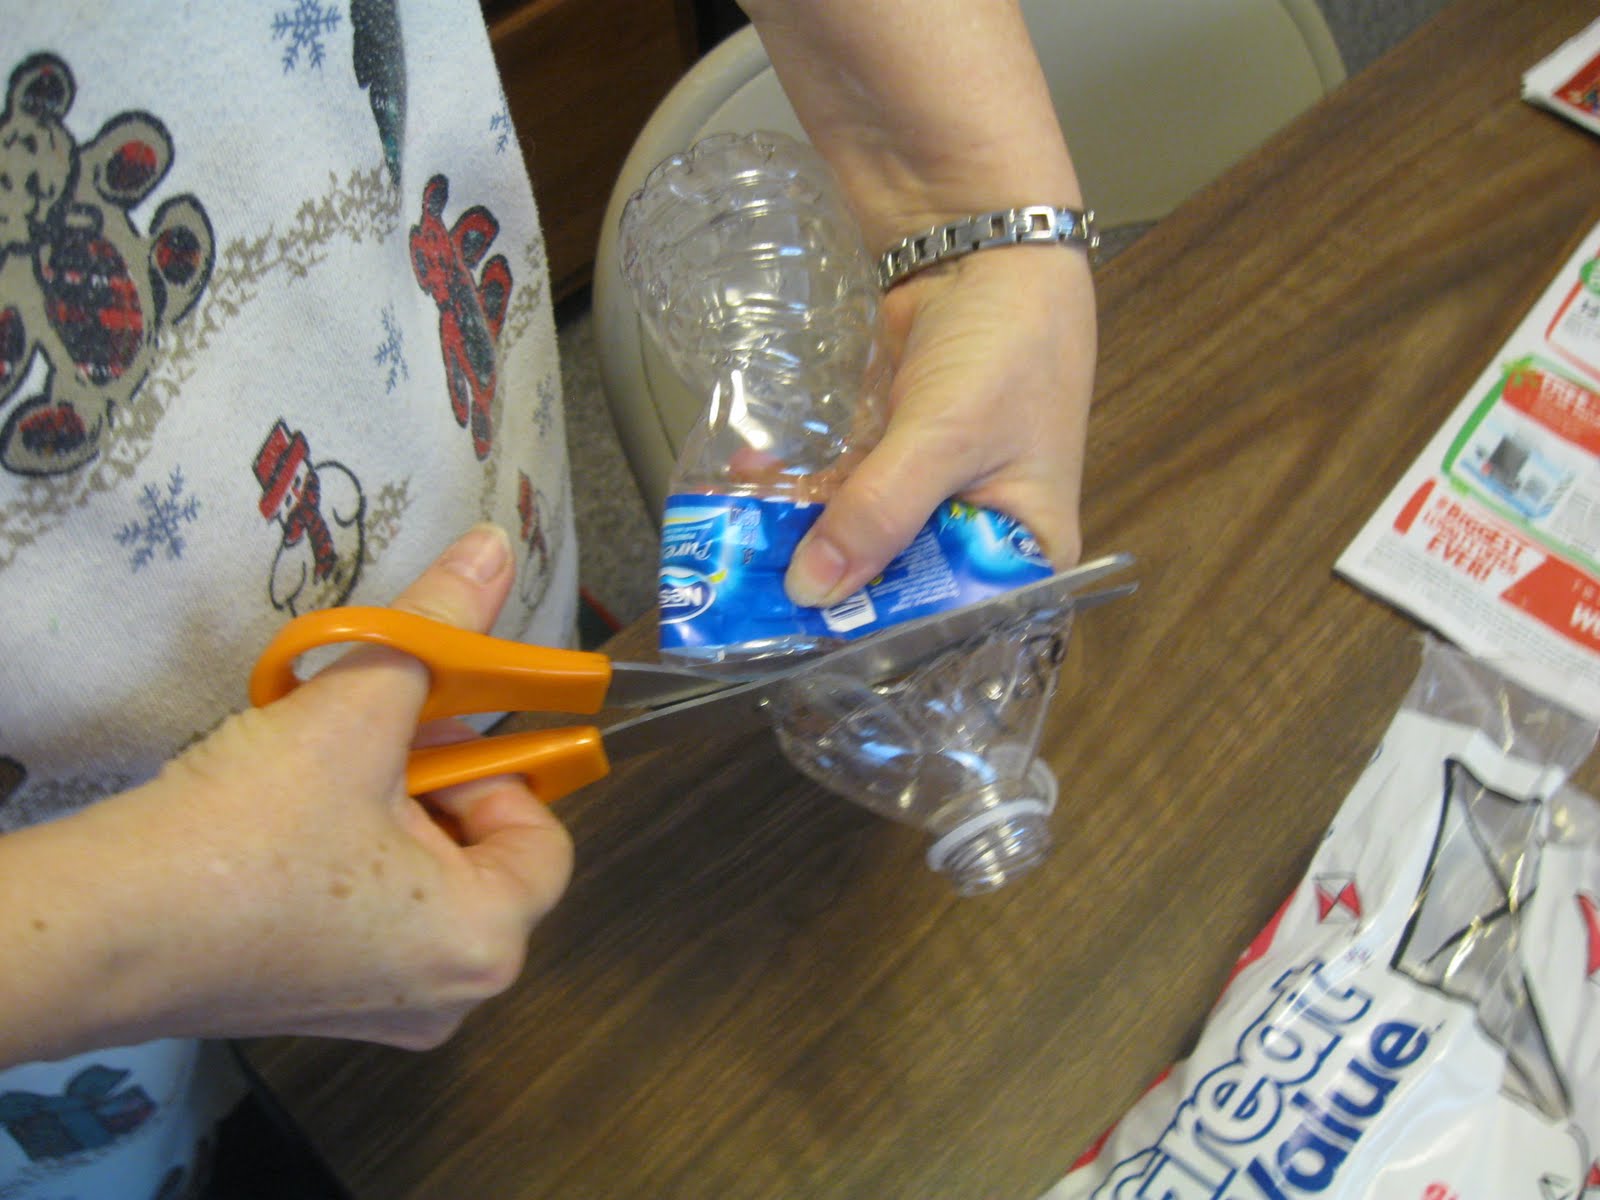
Well, here's a great solution. Cut the top off a plastic bottle. You can use a 2-liter top for bigger bags like marshmallows or a water bottle for things like rice or beans.


Thread the top of the opened bag through the bottle top. Fold the bag down over the bottle top like you fold down a sock.


Twist the top of the bottle on over the bag.


No more spills in the cupboard!

For more helpful tips, visit Works for Me Wednesday over at We are THAT Family.

Tuesday, October 26, 2010

How to roast your own red peppers

Roasted red peppers add a great deal of flavor to salads and sandwiches, but I have to say, I don't like the slimy ones in the jars. They're just so....slimy.

So I decided to roast my own because they're so very easy. And the flavor is fresh and wonderful, not jarred.

First, wash and dry your pepper. Slice the pepper in half from top to bottom and remove the stem and seeds. Place on a lightly greased baking sheet, cut side up. Roast at 450 degrees for 10 minutes. Then turn the peppers over and return to the oven for another 10-15 minutes, until the skin is blackened.


Place the pepper halves into a bowl and cover tightly with foil. The steam from the peppers will make the skin easier to remove. You should be able to slide them right off.


Now slice into strips or chunks or however you want to use them! These will keep in the fridge for about a week.


Once you've tried roasting your own peppers, you won't be satisfied with jarred ones.

For more helpful tips, visit Works for Me Wednesday at We are THAT Family.

Tuesday, October 19, 2010

Kitchen Tip - draining grease from a pan

I have many recipes that instruct you to brown ground meat, then drain. But you know, it's not easy to do sometimes with a hot pan full of hot grease. Besides, who wants to clean up grease drips all over the counter?

As I bemoaned this problem early on in our marriage, my resourceful husband suggested I use a turkey baster to drain the pan.

Could it be that easy?

Why, yes is could!

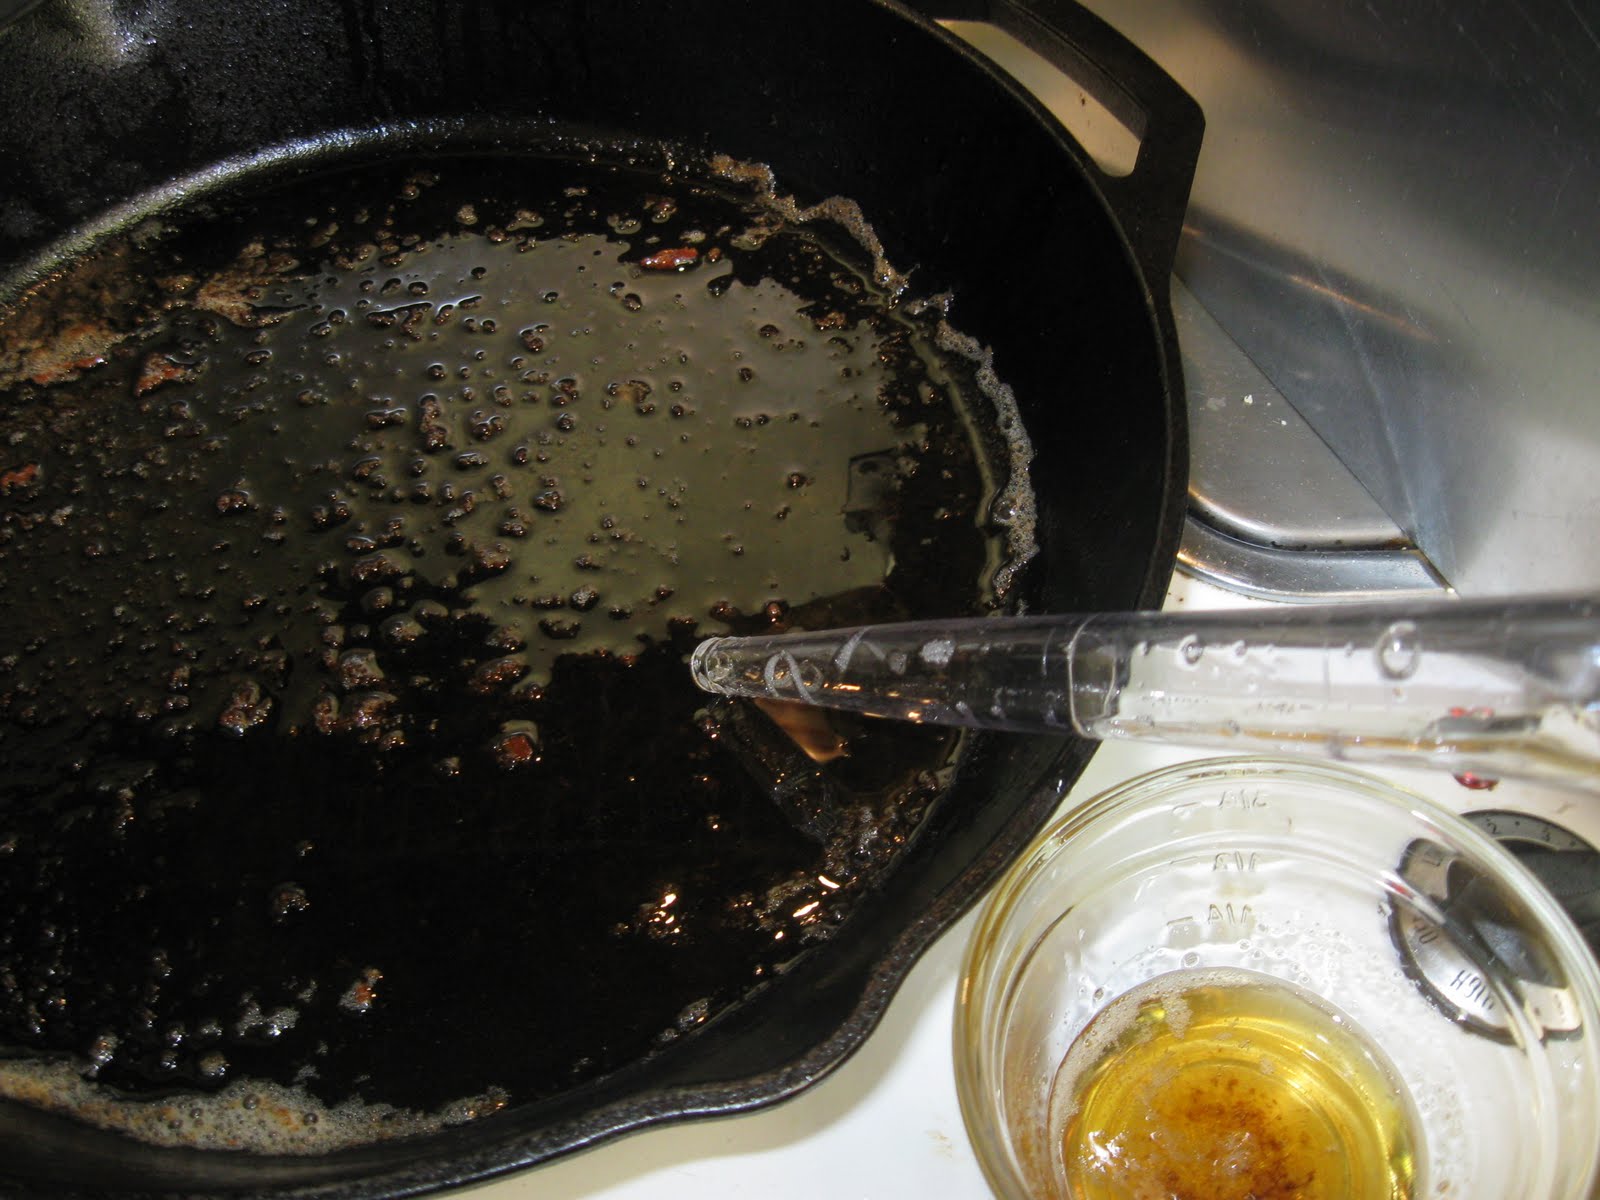
Here's how I do it. I tilt the pan and let as much grease as possible flow to one side. If there's any meat in the pan, I use a spatula to keep it to the other side. Then I draw as much out as possible with the turkey baster.


Of course, I keep a small bowl right beside the pan to collect the grease so there are no drips. I just squeeze it out of the turkey baster into the bowl and try to suck up some more from the pan! I can dispose of it later.

I can't tell you how much annoyance this little tip has spared me!

For more helpful tips, visit Works for Me Wednesday over at We are THAT Family.

Tuesday, July 20, 2010

Helpful Hint - Filling Ziploc Bags

I don't know about you, but when I'm putting liquids or messy ingredients into a Ziploc bag, I can't help but get it all over me. For instance, I make my own chicken broth and ladle it into bags to freeze. No matter how careful I am, it splashes everywhere! And freezing homemade pizza sauce? Let's not even go there.

It seems I don't have the coordination to hold the bag open and upright without letting the contents spill out while putting more contents in. Does anyone?

But I found a solution! And it was so simple, I almost smacked myself upside the head and said "Duh!"

Place the Ziploc bag (quart size) into a wide-mouthed glass jar with the top of the bag hanging over the edges. Screw the metal ring over the bag and start filling! How easy is that?

The wide-mouthed jar makes it so easy to ladle, scoop or pour right into the bag. And the ring keeps the bag open without me having to hold on to it! Above is a picture of funnel cake batter I put into a Ziploc so I could squeeze it out into a frying pan. It was so messy trying to get it in the bag until I did it this way. Now there's no mess!

For more helpful hints, head over to We are THAT Family's Works for Me Wednesday.

Tuesday, June 8, 2010

Tenderizing steak the fast and frugal way

There's nothing worse than a tough, leathery steak that's hard to cut and chew. Well, here's a simple, frugal, fast way to tenderize steak. Use rock salt. You know, the kind you use for ice cream making. I can buy a 4-pound bag for less than two dollars. That's a whole lot of tenderizing! And in 10 minutes, you can have a flavorful, juicy steak.

Here's what you do:

Liberally cover your steak with the rock salt, both sides. Press it lightly so it sticks.


Let the steaks sit for 10 minutes. Then start scraping the salt off the meat. Use a knife if you want to. The salt will be almost clear instead of white. That's what you want.


The salt breaks down the protein fibers, allowing more "juice" to flow throughout the meat. Now grill as usual, but don't overcook.

You'll be amazed at how tender and juicy the steak will be! I know I was. I was afraid it would be too salty, but it was like a brine. The flavor was distributed throughout the steak and it needed no other seasoning.

If you're hesitant about the salty factor, try rinsing the steaks after tenderizing. Pat dry before grilling.

So what about you? How do you tenderize your steaks for the grill?

For more tips, visit We are THAT Family's Works for Me Wednesday.

Wednesday, May 12, 2010

Works for Me Wednesday - Homemade Brown Sugar

Have you ever decided to bake cookies and assumed you had the brown sugar you needed but didn't? I know I have - countless times. Instead of making a mad dash to the store for brown sugar, why not make your own?

All you need is white sugar and molasses. After all, molasses is a byproduct of making sugar. You're just going to add it back in.

You'll need one tablespoon of molasses for every cup of white sugar.


Start mixing together with a fork. It will clump up at first, but keeping mixing.


Almost there! Try to make sure every white crystal is coated and no clumps remain.


And now you have homemade brown sugar! It tastes just like store bought (only fresher) and you can use it just the same. The whole process takes about five minutes - a lot less time than it takes to run to the store!


For more helpful tips, visit We are THAT Family's Works for Me Wednesday.

Tuesday, April 13, 2010

The Great Flour Experiment

I've been taking baby steps to make my family's eating habits healthier. I knew if I made any sudden drastic changes, there would be resistance. No one likes change, right?

I've been buying King Arthur flour because I think it's the finest quality you can get without actually grinding your own wheat. King Arthur doesn't bleach or bromate their flours, and they do not use genetically modified wheat. It's pricier than other brands, but I believe that the improved quality is worth it.

So when I found out that King Arthur produced white whole wheat flour, I couldn't wait to try it! This flour is made from hard white wheat and is lighter in texture and color than traditional whole wheat. It has the same nutrition of whole wheat without the grittiness.

I decided to mix it with equal amounts of KA Unbleached All-Purpose flour and see how it worked. I made cheesy garlic breadsticks, Chinese chicken, soft sandwich rolls...basically any recipe I had that called for all-purpose flour.

The results have been amazing! Charles has commented several times that the breadsticks seem so much tastier. Pizza dough is chewier and has more texture. I love that we're getting more nutrition while enjoying better tasting food!

In short the Great Flour Experiment has been a success!

Tuesday, March 16, 2010

The best whipped cream

If you've ever eaten homemade whipped cream, you know it's so much tastier and creamier than the store bought frozen stuff. And it doesn't have all the oils and chemicals that the frozen stuff does either.

The ingredients are simple - heavy whipping cream, vanilla extract (if desired) and powdered sugar if you want a little sweetness. Once you've tried homemade, you won't want to touch the fake stuff.

The secret to getting the fluffiest whipped cream is also simple - use a metal bowl and beaters that you've chilled in the freezer for at least 30 minutes. I use my Kitchenaid bowl and whisk attachment.

Pour the whipping cream into the chilled mixing bowl and add a teaspoon of vanilla. Start mixing slowly. As the cream thickens, gradually speed up the mixer. Soft peaks will form. If you want to sweeten the whipped cream, add a couple of teaspoons of powdered sugar and whip some more.

When the whipped cream has reached the desired consistency, store covered in the fridge until ready to use. This is awesome on fresh fruit or pudding. You can also use it in place of Cool Whip in your favorite recipes.

For more helpful tips and tricks, visit Works for Me Wednesday at We are THAT Family.