Tuesday, November 30, 2010

Easiest Cookie in a Jar Recipe

When I was teaching in a Christian school, I used to make cookies in a jar for all of my fellow teachers for Christmas. They all loved receiving a gift they could use during the holidays.

I'd set up an assembly line in the kitchen, packing down the ingredients and trying not to make a huge mess. I'd measure out flour for each jar, then sugar, then the next ingredient and so on until the jars were filled instead of trying to fill them one at a time.

There had to be an easier, quicker way. But I couldn't come up with one.

Until I started thinking about my recipe for cake mix cookies. Why not combine the recipe with the jar idea?

So that's what I did!

All you need is a cake mix, 1 teaspoon of baking powder, 1 cup of mix ins (refer to the recipe linked above for ideas), and a quart jar. You'll also need to print or write out the instructions and attach the to the jar.

Start by making sure your jar is clean. Pour about half of the cake mix into the jar and pack it down. I use my Pampered Chef tart shaper, but anything like a spatula or spoon will do. Add the baking powder next. Then add the rest of the cake mix and pat, pat, pat. I'm using a spice cake mix for this jar.


Layer your mix-ins next. I put 1/2 cup nuts in, then 1/2 cup butterscotch chips. Toffee bits would also be good with the spice cake mix. To give the jar a more interesting layered look, you could put half the cake mix, then half the mix-ins and repeat the layers. It's up to you!


Print the instructions onto cardstock and attach them to the jar. I punched a hole in the cardstock and used a simple curling ribbon to attach it. You can get as fancy as you want to.


The recipe instructions read as follows:

Pour the jar contents into mixing bowl. Add 2 eggs and 1/2 cup vegetable oil. Stir until well combined. Drop by rounded spoonfuls onto ungreased cookie sheets. Bake at 350 degrees for 8-10 minutes. Yield: 3 1/2 dozen.

I can't tell you what a timesaver this is! It used to take me all evening to fill jars, now it takes just minutes! I got cake mixes on sale for $.68, so it's pretty cheap too!

For more holiday tips and gift ideas, head over to Works for Me Wednesday hosted by We are THAT Family.

Monday, November 29, 2010

Cream Cheese Cookies

If you're looking for a fantastic addition to your holiday cookie trays, I've got the recipe for you. These simple yet elegant cookies are buttery and creamy. And addictive. You won't be able to eat just one.

Here's what you need:

1 cup butter, softened
3 oz cream cheese, softened
1 cup sugar
1 egg yolk
1 teas vanilla
2 1/2 cups flour

In a mixing bowl, cream the butter and cream cheese together. Slowly add the sugar and beat until fluffy. Beat in the egg yolk and vanilla.


Mix in the flour.


Form the dough into a ball and wrap in plastic wrap. Chill in the fridge for at least an hour. Doesn't this ball of dough kinda look like a brain?


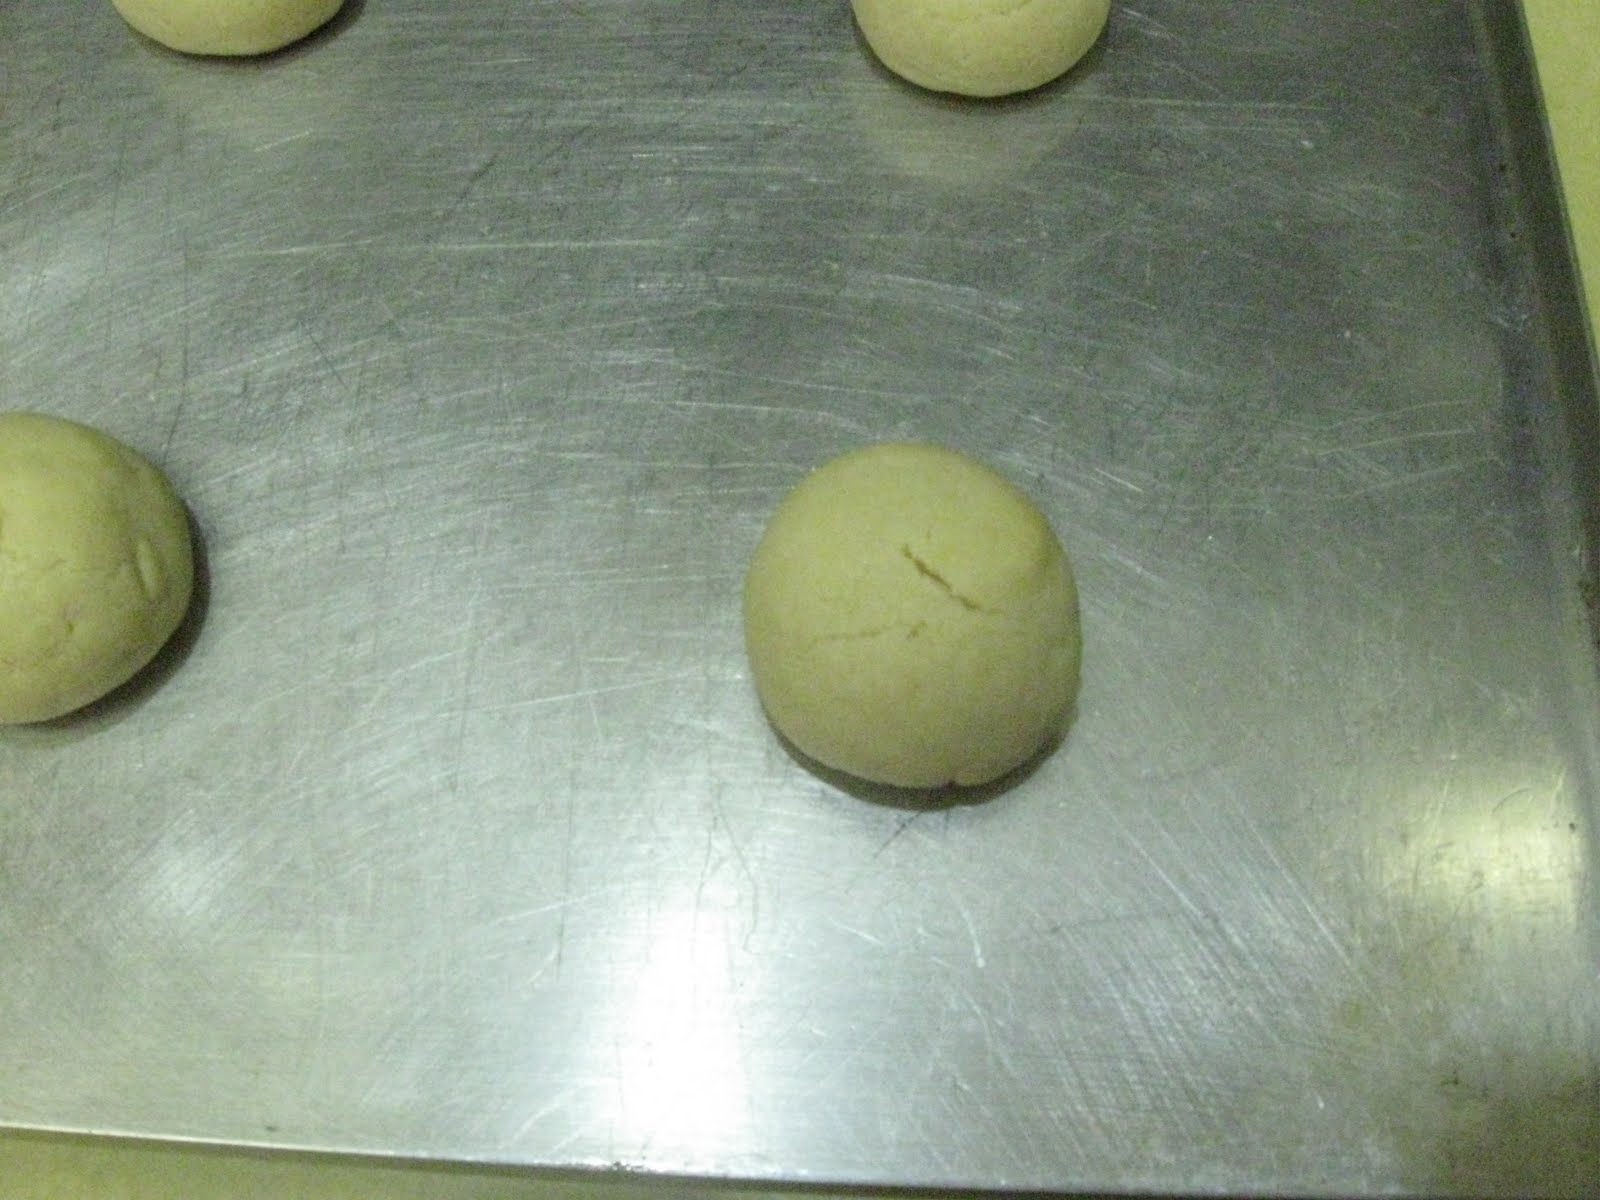
Shape the dough into one-inch balls. Place on greased cookie sheets and bake at 325 degrees for 12-15 minutes.


The tops might crack just a little bit and that's okay. But watch them carefully and don't them brown too much. Overbaking will cause the cookies to be dry. Also, don't expect these cookies to spread out much. They will keep their ball shape well.

The original recipe I used called for a lemon powdered sugar glaze. Charles and I thought this was completely unnecessary and took away from the creamy-tasting cookie. This is a delightful little morsel that doesn't need any dressing up to be special. Its simplicity is what makes it so.

For more yummy recipes, visit Tempt My Tummy Tuesday over at Blessed with Grace.

My New Island!

In October I got a new tile floor in the kitchen. I love it! But hubby had to go out of town for work and my center island didn't get reinstalled.

It needed a makeover. Badly. The previous owner had installed an indoor electric grill in the island which I wasn't fond of. We tried it out once, and it smoked up the house so terribly we decided it had to go.

So dear Charles removed the grill parts and was left with a huge whole in the middle. He covered it over with a board, then tiled the top for me. We chose a backsplash tile, the kind that is already connected in one sheet. It took five sheets to completely cover the island, then Charles had to grout and seal it.

This is the finished product!

The colors of the tile completely match the weird color combo already in the kitchen. We have two-tone cabinets of dark wood with cream doors. The counter tops are sunny yellow. The dishwasher and oven are black. And we have a copper glazed accent wall in the adjoining breakfast nook. Every color is represented in the tile!


I'm thrilled with it! And I'm thankful that my husband took the time to make it for me.

Sunday, November 28, 2010

Menu Plan November 28-December 4

Thanksgiving was a lot of fun. A lot of work, but a lot of fun! We had friends over for dinner, then had more friends over to play games that night. All weekend long we ate leftovers and more leftovers. So I really haven't cooked since Thursday! Yay!

But it's a new week, and my leftovers are depleted. Time to cook again.

Here's the plan for the week:

Sunday
Pan-seared tilapia (we didn't get to this last week), green beans

Monday
Tori No Kara-age, rice

Tuesday
Homemade pizza

Wednesday
Quesadillas, Mexican rice

Thursday
Pancakes, bacon

Friday
Bacon Ranch Chicken, mashed potatoes

Saturday
Sloppy joes, french fries

For more meal planning inspiration, visit Organizing Junkie's Menu Plan Monday.

Wednesday, November 24, 2010

Happy Thanksgiving, friends!

We truly do have so much to be thankful for, don't we?


I hope you have a joyous day, reflecting on your blessings with friends and family.

Tuesday, November 23, 2010

Pumpkin Pie Cupcakes

You will never find an easier recipe for cupcakes. Ever.

There are only two ingredients, three if you decide to frost them. Four if you count the sprinkles.

Here's what you need:

1 spice cake mix
1 (15 oz) can pumpkin

That's it!

Combine the cake mix and pumpkin. The easiest way to do this is to use a mixer. Divide the mixture among 18 paper-lined muffin cups. Bake at 350 degrees for 15-18 minutes. Let cool then frost if desired. Dip in sprinkles if you want!

I used cream cheese frosting and it was delectable! I had some fall leaves/orange sprinkles that I poured into a shallow dish, then dipped the tops of the cupcakes into the dish . It's so much easier to dip than to shake the sprinkles onto the frosting. More sprinkles stick that way, too!


The muffins were so moist and delicious. You could use a yellow cake mix instead of spice cake, but note that you'd have to add pumpkin pie spice and cinnamon to the batter.


The frosting is optional, but not really. Have you ever eaten cupcakes without frosting? I think they're called muffins if you eat them that way!

Sunday, November 21, 2010

Menu Plan November 21-27

Thanksgiving is almost here! I love this time of year. I enjoy taking time out of our busy schedule to pause and reflect on God's blessings in our lives. I've tried to keep this week's menu simple since I've got lots of other prep work to do for Thanksgiving dinner.

Here's the menu:

Sunday
Spaghetti

Monday
Coconut Chicken Curry, rice

Tuesday
Pan-seared tilapia, broccoli

Wednesday
Beef stew

Thursday
Thanksgiving Dinner

Friday
Leftover casserole

Saturday
Turkey rice soup

For more meal planning inspiration, visit Organizing Junkie's Menu Plan Monday.